前置工作
下载 VMware:VMware 中国 - 交付面向企业的数字化基础 | CN
下载对应的 Ubuntu 镜像:Index of /ubuntu-releases/ (ustc.edu.cn)
安装 Ubuntu
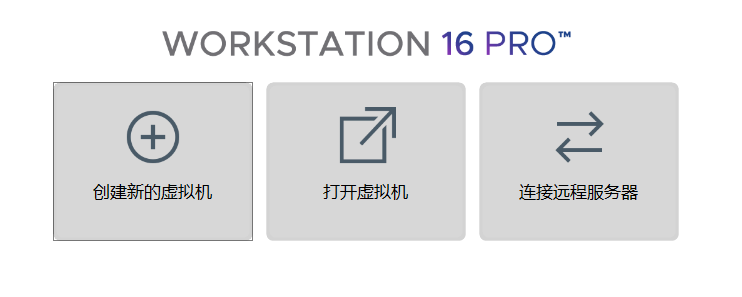
选择新建虚拟机:
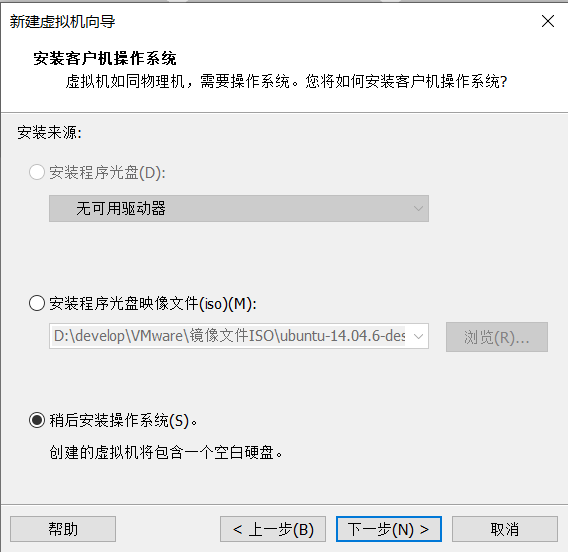
选择稍后安装:
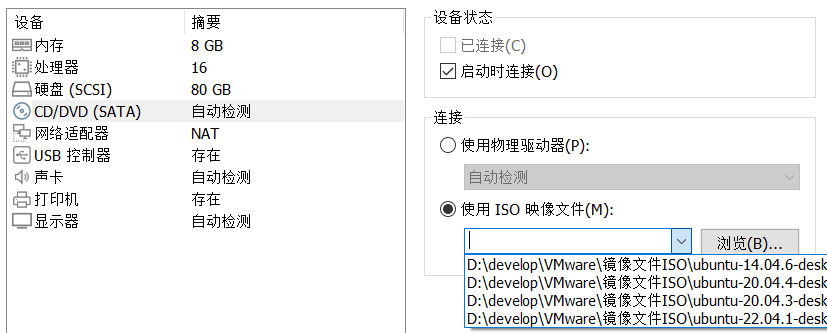
在“虚拟机设置”中选择“CD/DVD”,然后指定 ISO 镜像文件的位置:
启动虚拟机开始安装
左侧滑到最下面,然后选择“中文”,接着点击“安装Ubuntu”:
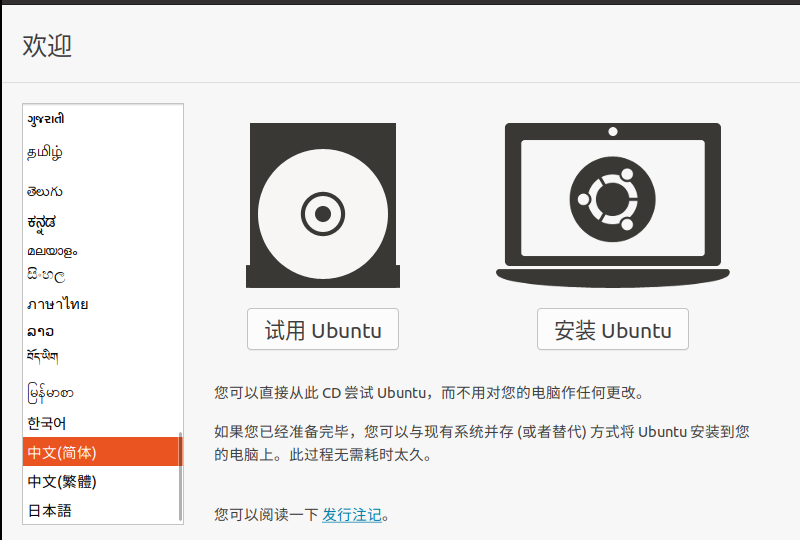
接下来的操作有点“炒蛋”,由于窗口空间有限,我们要利用方向键来选择“下一步”:
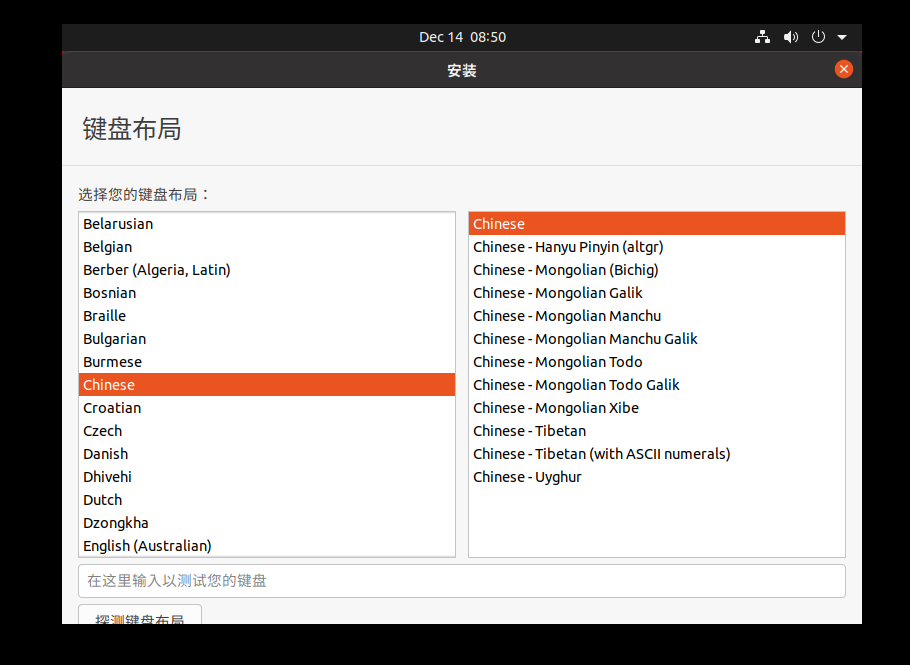
耐心等待程序安装完毕:
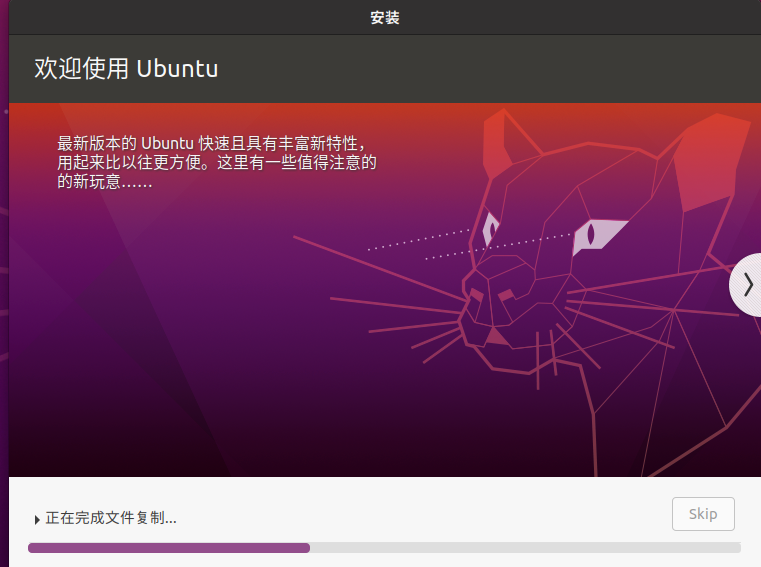
- 如果嫌慢可以直接 Skip
安装 VMwareTools
右键选择“重新安装”:
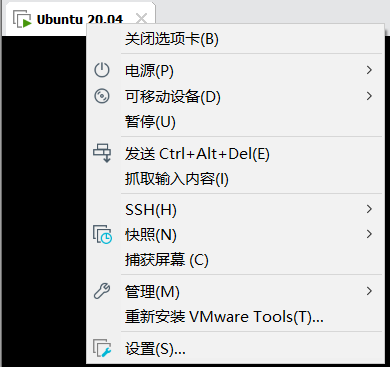
选择左侧的 DVD,把压缩包解压:
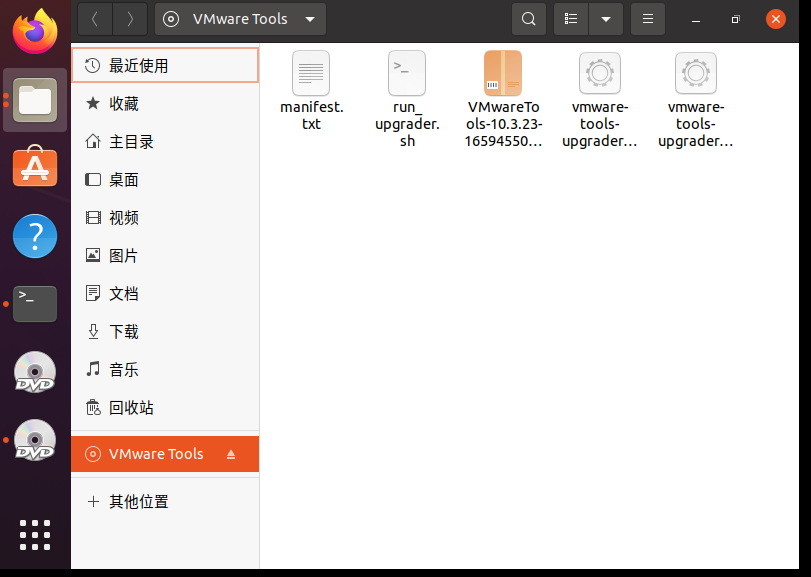
执行命令 sudo ./vmware-install.pl,如果遇到 [NO] 要选择 [YES]
如果无法实现[主机/虚拟机]复制粘贴,就执行如下命令来安装 open-vm-tools:
1 | sudo apt-get install open-vm-tools-desktop fuse |
设置共享文件夹
在“虚拟机设置”中选择“共享文件夹”
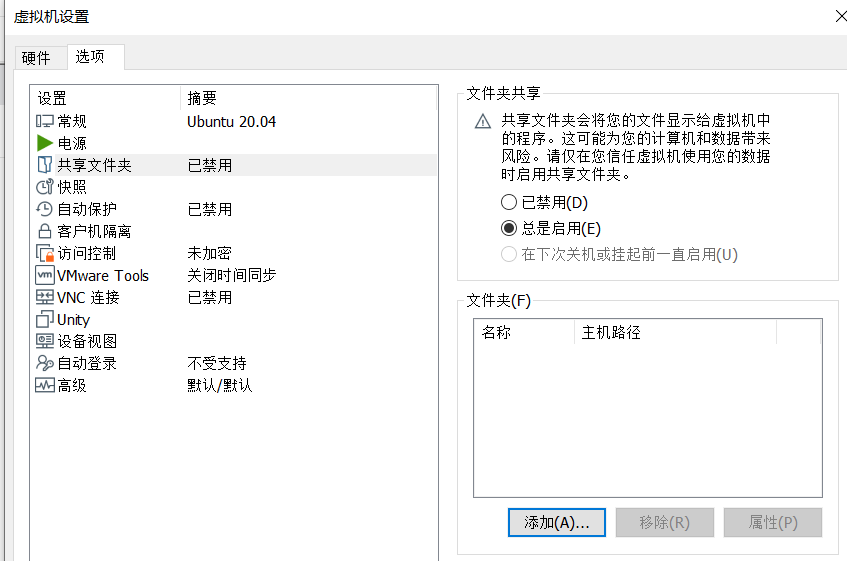
选择“总是启用”后点击添加:
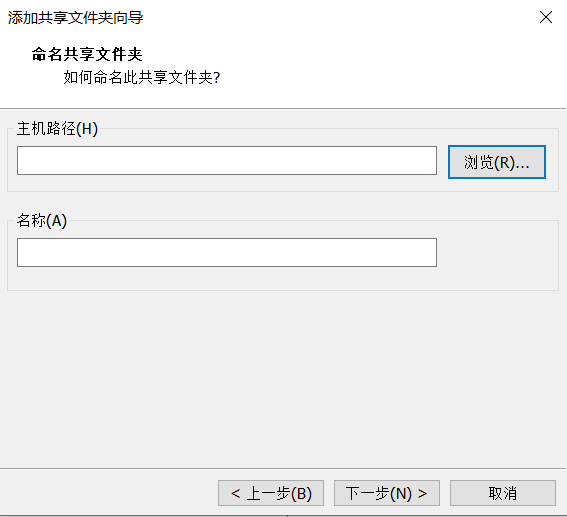
选择需要主机上需要共享的文件夹
然后在 /mnt/hgfs 目录下就有我们的共享目录了,如果没有则需要多安装一些东西
1 | sudo apt install open-vm-tools* |
输入以下命令查看 VMware 配置是否有问题:
1 | vmware-hgfsclient |
如果没有则进行挂载:
1 | sudo mkdir /mnt/hgfs |
- 如果还是不行则参考以下博客:完美解决vmware上Ubuntu22.04共享文件夹问题
安装 Clash for Linux 实现科学上网
下载地址:Releases · Fndroid/clash_for_windows_pkg (github.com)
- 下载
Clash.for.Windows-0.17.3-x64-linux.tar.gz
解压后执行 ./cfw:
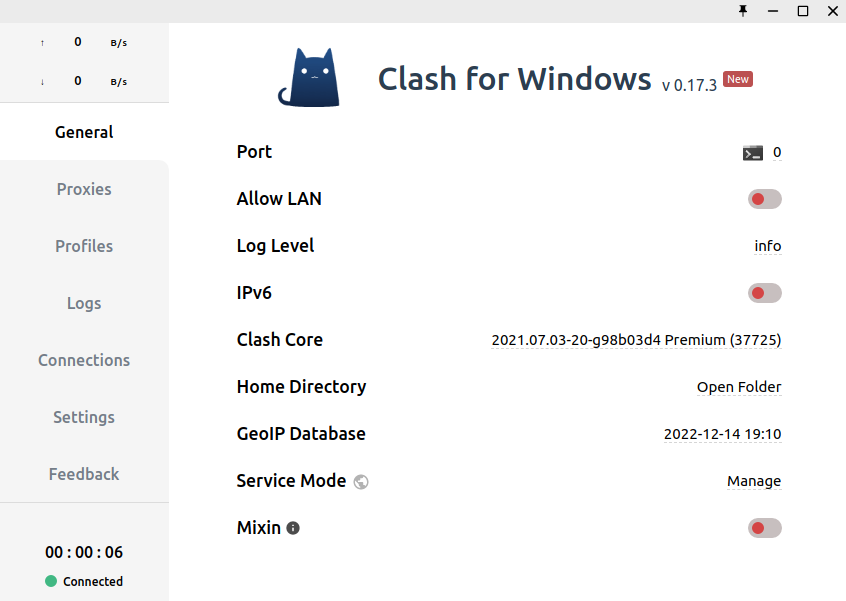
- 需要购买并配置机场
设置网络代理:
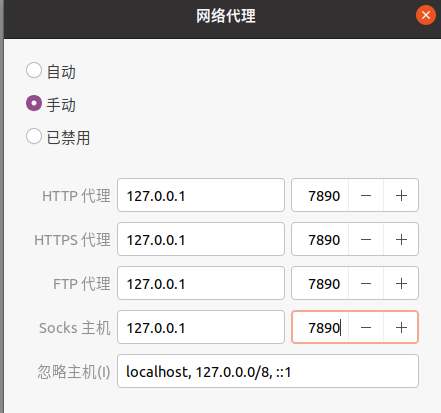
为 git 配置代理:
1 | git config --global https.proxy https://127.0.0.1:7890 |
设置开机自动启动:
1 | sudo touch /etc/systemd/system/clash.service |
1 | [Unit] |
1 | systemctl start clash.service |
安装 Oh My Zsh 美化终端
安装 Zsh:
1 | sudo apt install zsh |
- 将 Zsh 设置为默认 shell
1 | chsh -s /bin/zsh |
安装 Oh My Zsh:
1 | sh -c "$(curl -fsSL https://gitee.com/mirrors/oh-my-zsh/raw/master/tools/install.sh)" |
安装插件:
- zsh-autosuggestions(代码补全)
1 | git clone https://github.com/zsh-users/zsh-autosuggestions ${ZSH_CUSTOM:-~/.oh-my-zsh/custom}/plugins/zsh-autosuggestions |
- zsh-syntax-highlighting(颜色标记)
1 | git clone https://github.com/zsh-users/zsh-syntax-highlighting.git ${ZSH_CUSTOM:-~/.oh-my-zsh/custom}/plugins/zsh-syntax-highlighting |
- 使用
gedit ~/.zshrc命令进行进行配置(修改plugins)
1 | plugins=( |
Ubuntu 换源
1 | sudo cp /etc/apt/sources.list /etc/apt/sources.list.backup |
- 更换阿里源:
1 | deb http://mirrors.aliyun.com/ubuntu/ jammy main restricted universe multiverse |
- 保存后更新
1 | sudo apt-get update |
安装 Python 环境
先安装通用软件依赖:
1 | sudo apt install software-properties-common |
然后安装 python:
1 | sudo apt install python2 |
由于 Ubuntu 官方源已经不支持 pip2 的安装,于是我们只能手动安装 pip2:
1 | wget https://bootstrap.pypa.io/pip/2.7/get-pip.py |
pip 换源:
1 | pip config set global.index-url https://pypi.tuna.tsinghua.edu.cn/simple |
安装各种 pwn 工具
- pwntools(核心)
1 | python -m pip install --upgrade pwntools |
- patchelf(换 libc 版本)
1 | git clone https://github.com/NixOS/patchelf.git |
- glibc-all-in-one(下载 libc 版本)
1 | git clone https://github.com/matrix1001/glibc-all-in-one.git |
- ROPgadget(找 gadget)
1 | git clone https://github.com/JonathanSalwan/ROPgadget.git |
- ropper(找 gadget)
1 | sudo pip3 install ropper |
- seccomp_tools(检测沙盒)
1 | sudo apt install gcc ruby-dev |
- one_gadget(找 one_gadget)
1 | sudo apt install gcc ruby-dev |
安装调试工具
- GDB
1 | sudo apt-get install gdb |
- pwngdb
1 | git clone https://github.com/scwuaptx/Pwngdb.git |
- pwndbg
1 | git clone https://github.com/pwndbg/pwndbg |
pwngdb+pwndbg 文件配置:
1 | gedit ~/.gdbinit |
1 | source ~/tools/peda/peda.py |
安装 VScode
1 | wget -q https://packages.microsoft.com/keys/microsoft.asc -O- | sudo apt-key add - |
下载与更换 gcc 版本
1 | sudo apt install g++-5 |
1 | ➜ Tools ls /usr/bin | grep g++ |
使用以下命令生成链接组:
1 | sudo update-alternatives --install /usr/bin/gcc gcc /usr/bin/gcc-5 50 --slave /usr/bin/g++ g++ /usr/bin/g++-5 |
使用如下命令更换 gcc:
1 | sudo update-alternatives --config gcc |
效果如下:
1 | 有 3 个候选项可用于替换 gcc (提供 /usr/bin/gcc)。 |
安装 docker
docker:
1 | curl -fsSL https://download.docker.com/linux/ubuntu/gpg | sudo apt-key add - |
- 检测 docker 是否运行:
1 | sudo systemctl status docker |
- docker 换源:
1 | sudo touch /etc/docker/daemon.json |
1 | { |
- 不用 sudo 来执行 docker 命令:
1 | sudo usermod -aG docker ${USER} |
docker-compose:
1 | curl -fsSL https://mirrors.ustc.edu.cn/docker-ce/linux/ubuntu/gpg | sudo apt-key add - |
- 如果嫌这个太慢可以直接去 github 上下载:Release v2.14.0 · docker/compose (github.com)
1 | sudo chmod +x /usr/local/bin/docker-compose |
angr 环境搭建
为了不与 pwntools 库引起冲突,可以采用拉取 docker 镜像的方式进行使用:
1 | docker pull angr/angr |
以下脚本可以方便我们运行 docker angr:
1 | ! /bin/zsh |
Kernel Pwn 环境搭建
安装 qemu:
1 | sudo apt-get install qemu |
安装 busybox:
1 | wget http://busybox.net/downloads/busybox-1.23.2.tar.bz2 |
1 | make menuconfig |
- 在“Build static binary”处按“Y”选中(采用静态编译,为了不添加动态链接库)
1 | make -j8 |
- 编译出来的
_install就是目标了(这里的报错可能比较多,在网上都可以找到)
编译内核:
1 | make menuconfig |
- 使用
x86_64默认配置
1 | make bzImage -j4 |
- bzImage:
arch/x86/boot/bzImage - vmlinux:源码所在的根目录下
V8 环境搭建
安装 depot_tools 工具集:
1 | git clone https://chromium.googlesource.com/chromium/tools/depot_tools.git |
- 将
depot_tools加入你的PATH环境变量中
1 | sudo gedit /etc/profile.d/yhellow.sh |
获取 V8 源码:
1 | fetch v8 |
- 在 V8 的目录中安装依赖(时间较长)
1 | gclient config https://webrtc.googlesource.com/src.git |